Manufacturing process
1. Step: selecting the right body
to make tiles an appropriate clay has to be selected. It has to be:
a) suitalbe for the envisaged firing temperature
b) stable in shrinkage to get always the desired size after firing
c) keeping shape (staying straight and flat) during drying and firing
d) possibility to make thin tiles
e) fitting to the glaze in order go get a longlasting result
After having made several tests with different clay,we selected the appropriate one.
2 step: measuring shrinkage
After having made tiles out of the plastic clay body, the tiles shrink during drying and firing. In order to achieve a certain size of the final product, the tiles have to be made larger in the beginning.

8 marks of 100 mm are made in the freshly made flat piece. After the item is tried and fired the marks are measured again. Now they are 95 mm in everage, giving a shrinkage of 5 %.

For handmade tiles these are very even in shape. The grooves can be hold narrow at about 4-5 mm.

The tiles stay flat after firing. The pile looks good. We are very content with the result.
some steps later...
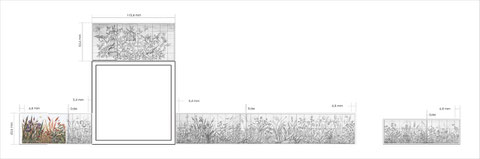
Layout and result

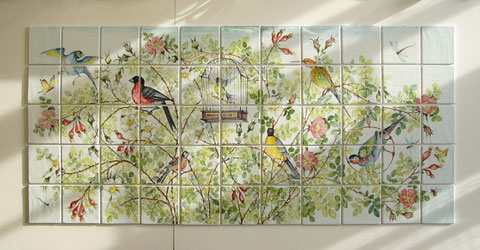
Horst arranging the tile mural to be photographed

Arranging a tile mural to be photographed.
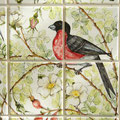
The tiles were hand painted and fired. They came out very nice. The colours sank into the glaze during the firing. A part of the colour lays slightly on the surface like the paint on an oil painting, giving the arrangemet a very lively look.
Wall 1 and 2 left of the window


The sky
This is the sky! Isn´t it lovely?
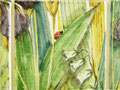
A lot of blossoms, different colourful birds and butterflies are around.
We were lucky at these winter days to get some some sunny moments during the foto shooting.